
Using Grid Tools in the RockWorks Utilities to Modify a Borehole Manager Stratigraphy Model
Summary
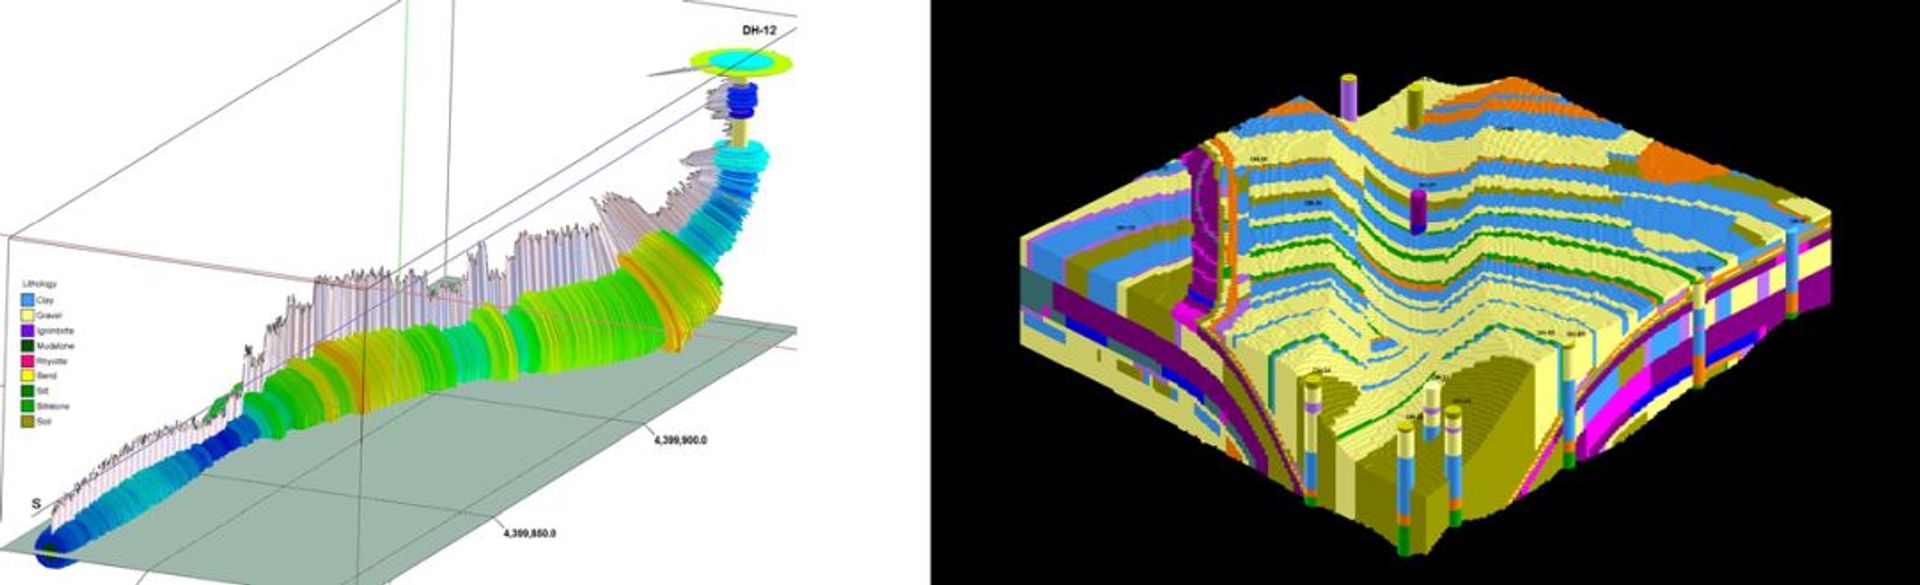
Creating a geological model with RockWorks can be tricky with certain datasets. When a Stratigraphy Model is created in the Borehole Manager, the program creates a top and base grid for each unit listed in the Stratigraphy Table. After model generation, you can view these grids, stored in the Project Directory, in the RockWorks Project Manager. The following steps demonstrate how you can use Grid Math and the Polygon Filter to modify the grids for the uppermost unit (the A-Horizon, displayed in green) so that they look more realistic.
Introduction
Often, stratigraphy models created in the Borehole Manager do not display pinched-out units properly. The “Hide Thin Zones” option available under the Stratigraphy Modeling Options helps with this problem by allowing the user to specify a minimum thickness cutoff, below which the units appear transparent. However, this option does not work in all cases, nor does it fix the problem for fence diagrams, cross-sections or profiles cutting through the solid model. The exercise below describes some techniques that take advantage of the Grid tools in the RockWorks Utilities to modify grids created in the Borehole Manager.
Note that this exercise has been performed with the Samples dataset included with RockWorks14. You should be able to follow along once you have created a Stratigraphy model in the Borehole Manager. Once a Stratigraphy model is created, you can use the Project Manager window to display the GRD files that make up the model.
Figure 1: RockWorks Project Manager displaying GRD file names
Continue reading the full article
-
Most popular related searches
Customer comments
No comments were found for Using Grid Tools in the RockWorks Utilities to Modify a Borehole Manager Stratigraphy Model. Be the first to comment!